Custom Attributes
Most elements in the DOM (Document Object Model) consist of several attributes. You’ve probable seen a few, for instance when you want to change how a tag (H1, H2, IMG, DIV, SPAN etcetera) looks or behaves. The ID-attribute and CLASS-attribute are things that are expandable on the Advanced Tab on a Beaver Builder Node.
But sometimes there are other attributes that can help plugins or other pieces of code to do stuff. If needed, we thought you should be able to add them.
Adding Attributes
Open the settings on a node. Select the *Toolbox Tab and scroll down to the “Custom Atrributes” section.
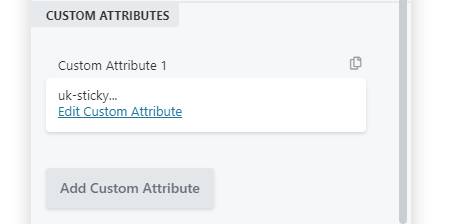
Click on the “Edit Custom Attribute” link to open up the Custom Attributes Settings.

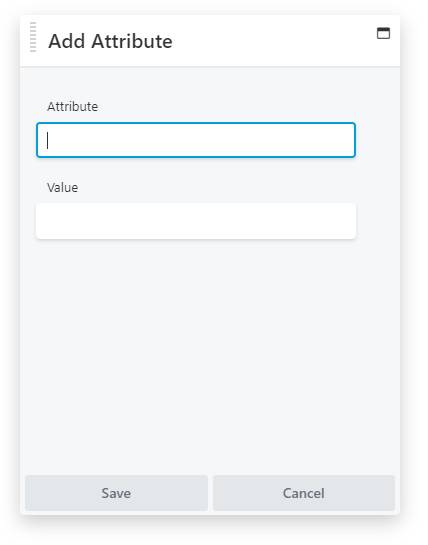
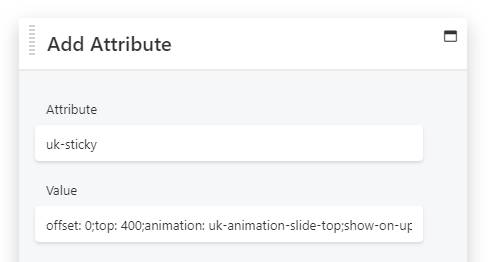
An attribute consists of two parts: the Atrribute’s name and a Value.
Because of the way Beaver Builder add the attributes to the DOM Element, you can’t add an empty value. Under most circumstances this won’t be a problem, since we add most attributes to have some value anyway.
Keep in mind that the Value that you enter will be enclosed between quotation marks. It is therefor necessary to avoid using them inside the Value.
After you’ve saved your Attribute, the attribute-name will be displayed on the Custom Attribute box. Save the settings to the node to apply them.